MCP Server
Mixpost ships with a built-in MCP (Model Context Protocol) server that lets AI agents — such as Claude, Cursor, or any MCP-compatible client — manage your workspaces directly. An agent can list your connected social accounts, browse posts, tags and media, and create, schedule, publish, or clean up posts on your behalf, all through a single secure endpoint.
The Model Context Protocol is an open standard for connecting AI assistants to external tools and data. The Mixpost MCP server exposes a set of tools that an AI agent can call to interact with your instance — no custom integration code required.
What you can do
With the Mixpost MCP server, you can ask your AI assistant to:
- "Show me everything scheduled for next week"
- "Draft a post for my X and LinkedIn accounts announcing our new feature"
- "Write a thread for X about our roadmap and save it as a draft"
- "Schedule my latest draft for Tuesday at 9am"
- "Add this post to the publishing queue"
- "Which social accounts are connected to my Acme workspace?"
- "Create a 'Launch' tag and apply it to all my draft posts"
- "Upload this image from a URL and attach it to a new post"
- "Find my failed posts and tell me what went wrong"
- "Duplicate last month's announcement and reschedule it for Friday"
- "Move all the drafts from the old campaign to the trash"
- "List the videos in my media library"
Authentication
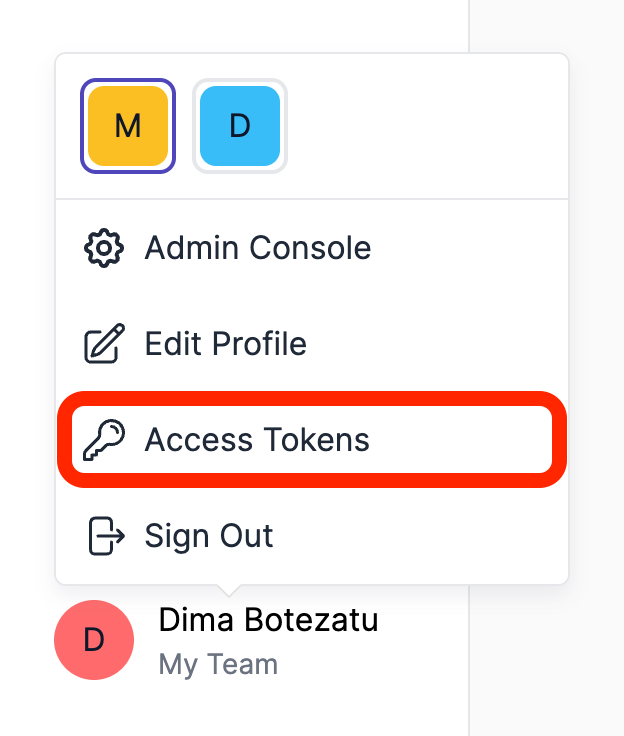
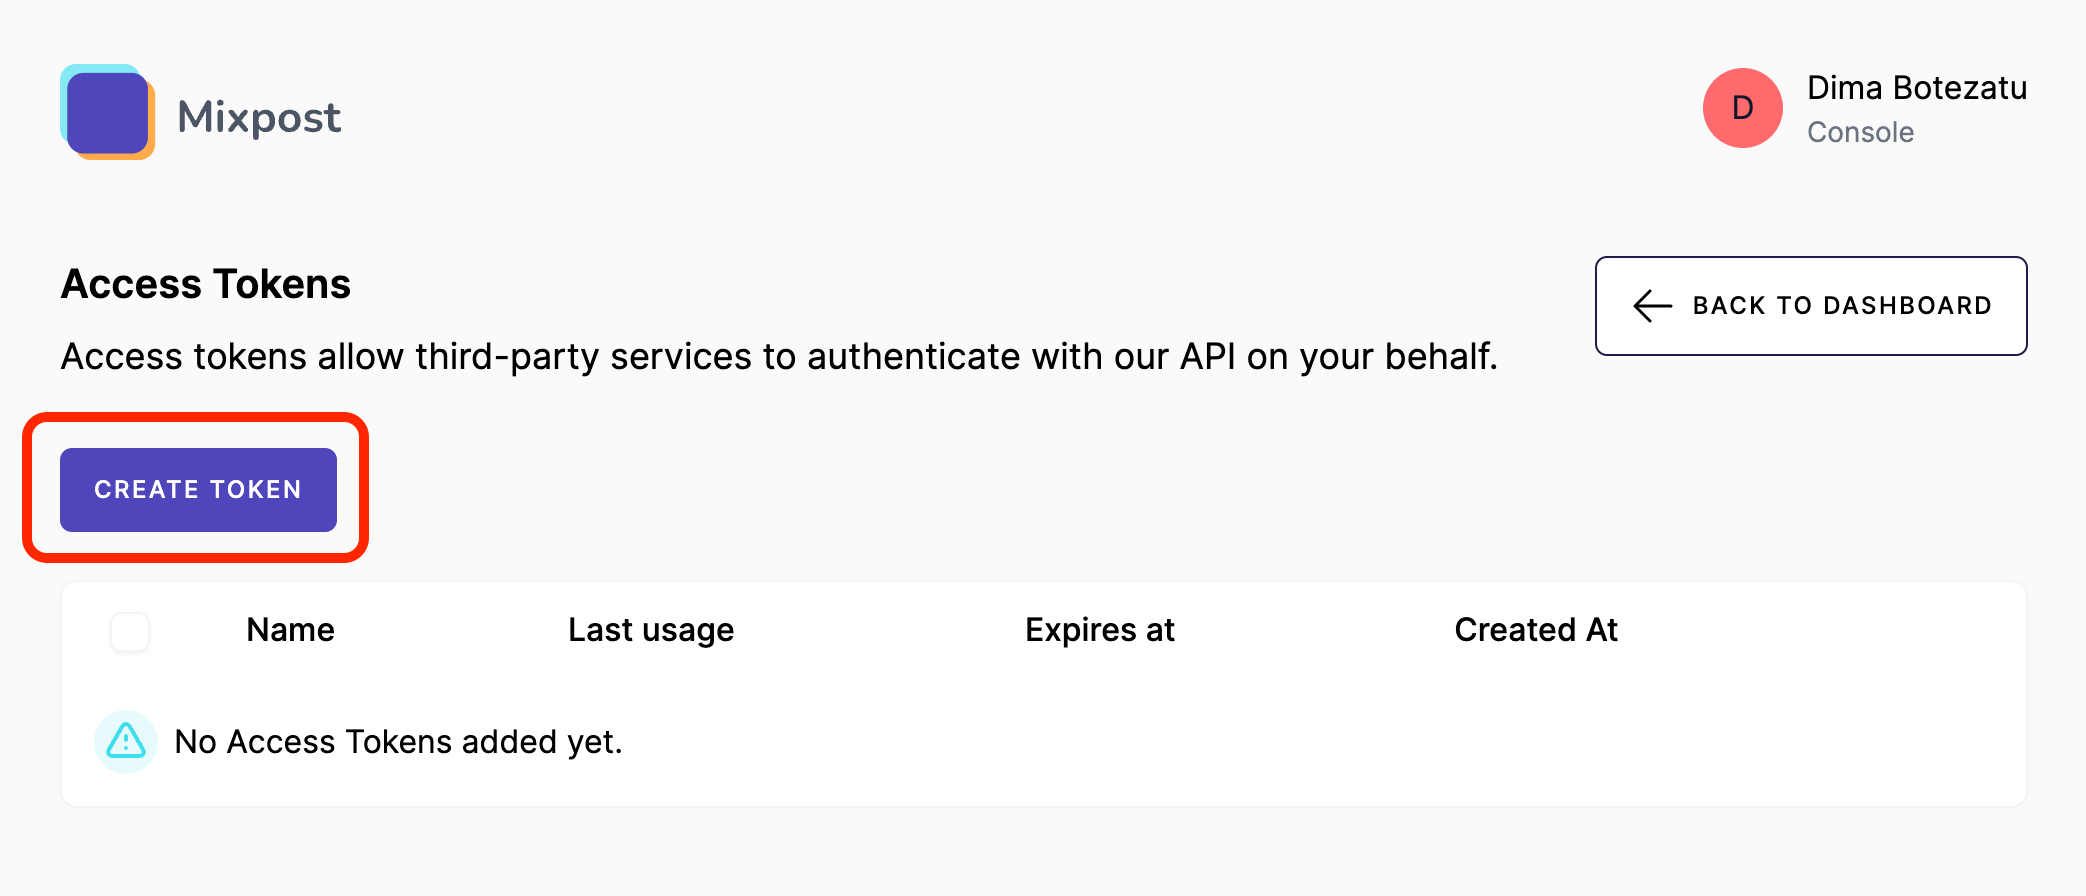
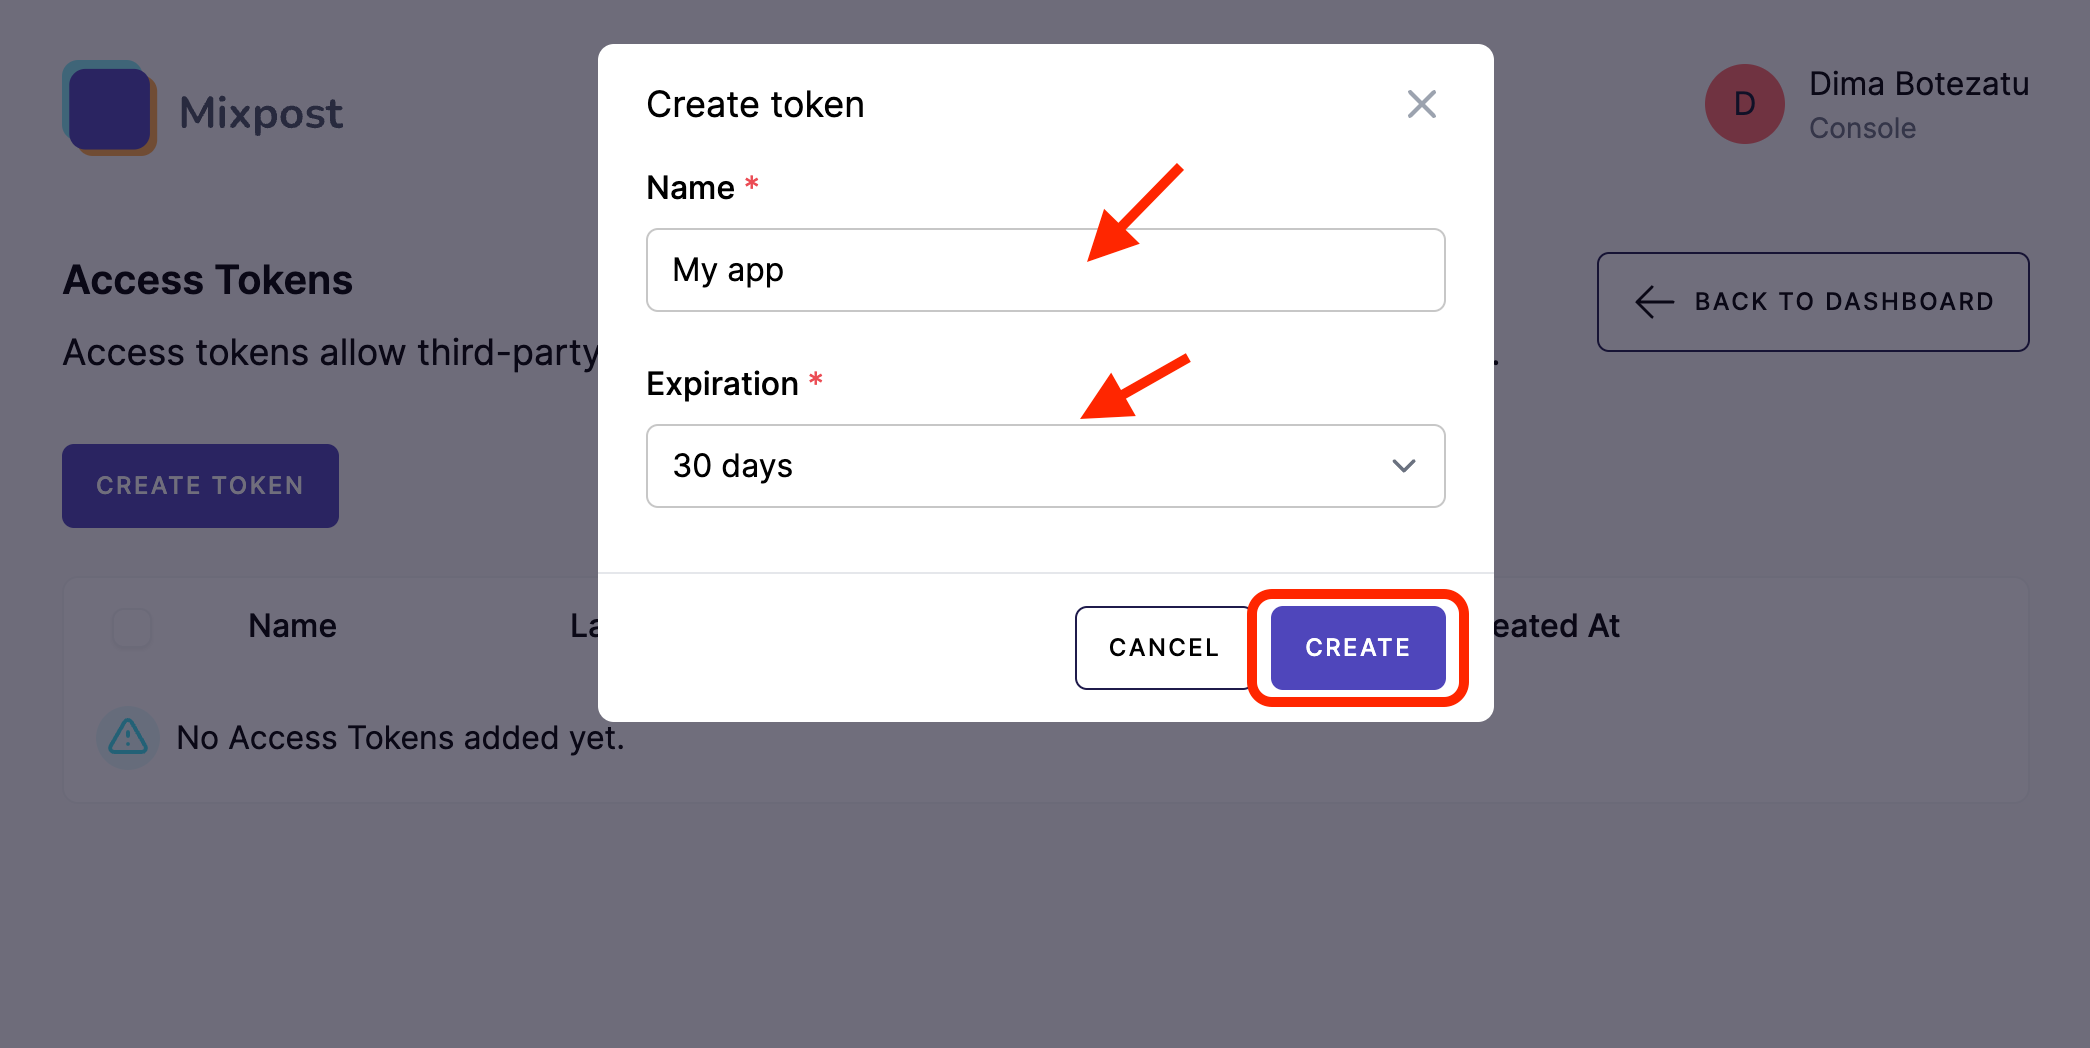
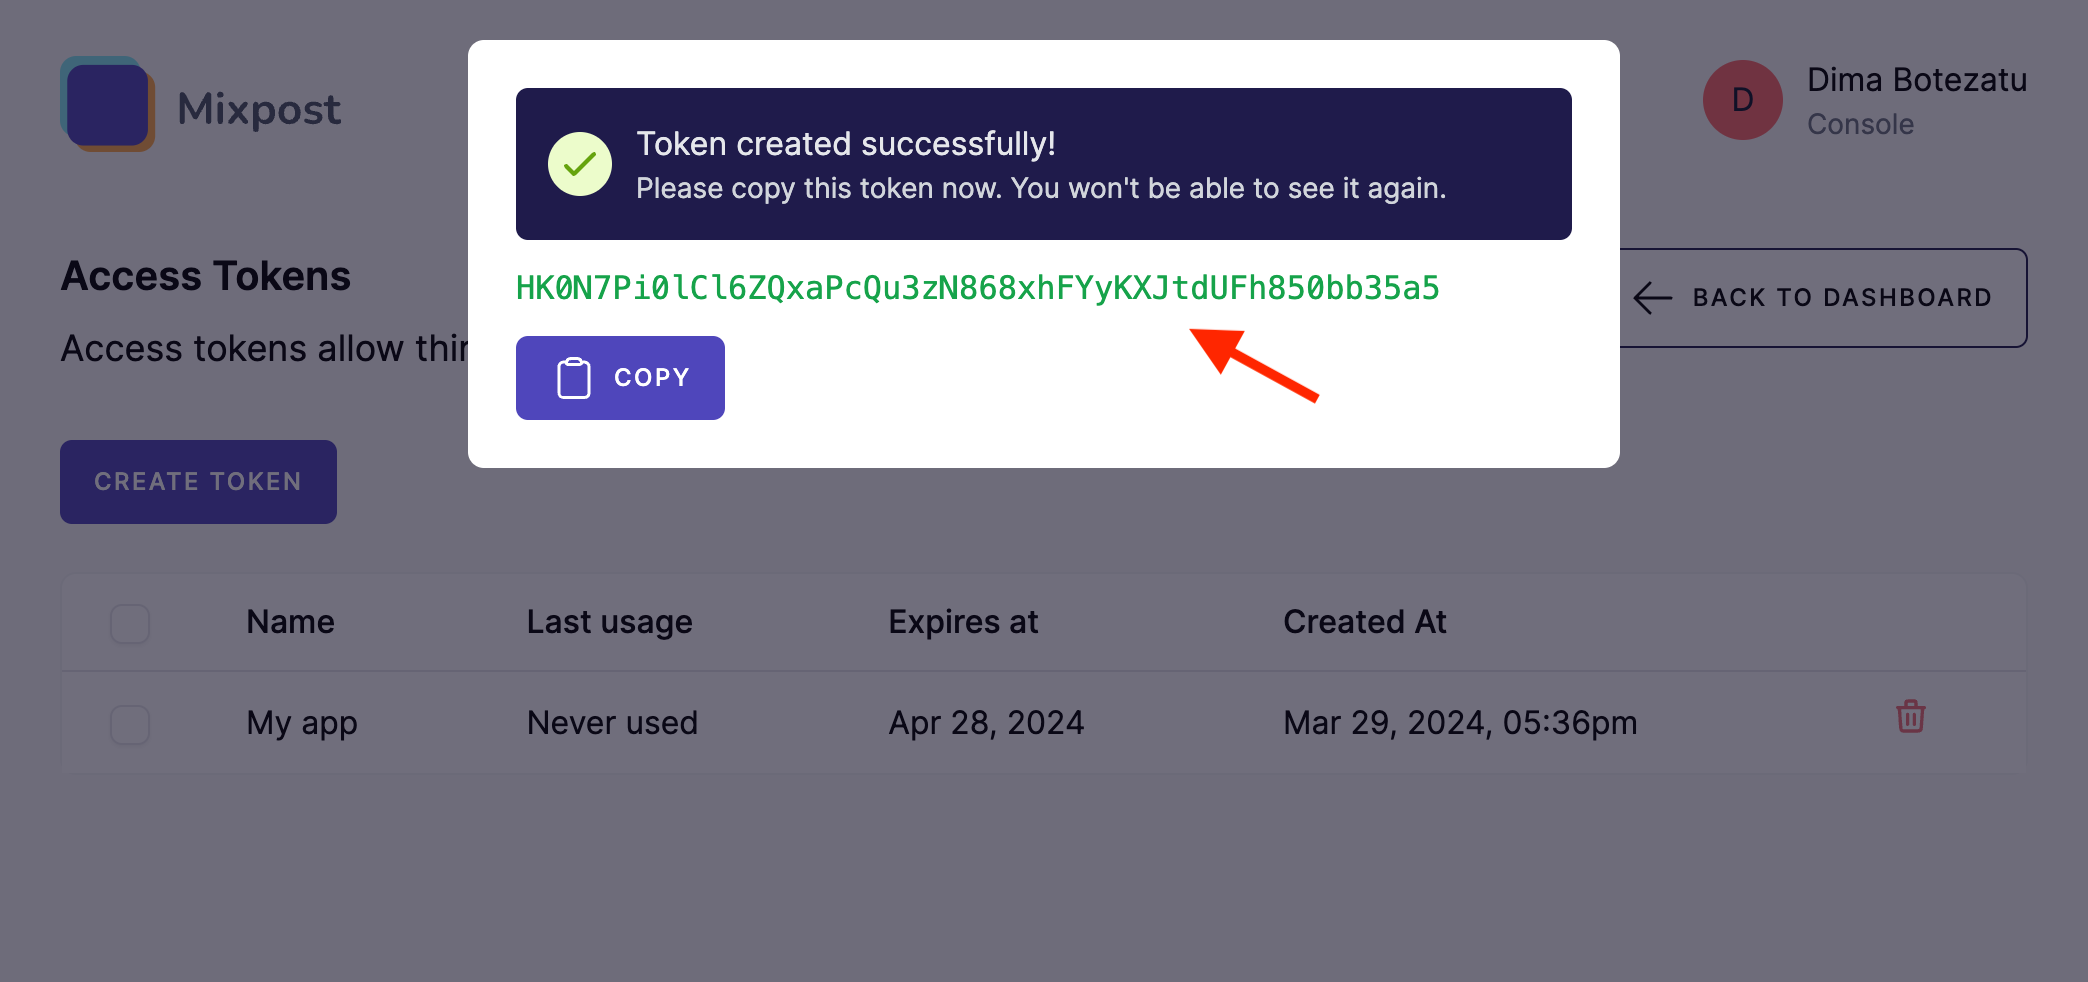
The MCP server authenticates with an access token. To generate one, open Access Tokens from the user menu in your dashboard, click Create, give it a name, and copy the generated token (it is shown only once).
Screenshots:
Connect your client
The MCP server is exposed over streamable HTTP at a single endpoint on your instance:
https://example.com/<MIXPOST_CORE_PATH>/mcp
Replace <MIXPOST_CORE_PATH> with your specified MIXPOST_CORE_PATH. If you have not altered the MIXPOST_CORE_PATH environment variable, use the default value: mixpost.
Note: For the Lite package, use the value mixpost, if this integration is supported in Lite.
Point your MCP client at that URL and send your access token in the Authorization header. The exact configuration depends on your client.
- Claude Code
- Claude Desktop / Cursor
- Hermes
- stdio-only clients
Add the server with the Claude Code CLI:
claude mcp add --transport http mixpost https://example.com/mixpost/mcp \
  --header "Authorization: Bearer <token>"
For clients that support remote HTTP MCP servers, add an entry to the MCP config file (e.g. claude_desktop_config.json or .cursor/mcp.json):
{
  "mcpServers": {
    "mixpost": {
      "type": "http",
      "url": "https://example.com/mixpost/mcp",
      "headers": {
        "Authorization": "Bearer <token>"
      }
    }
  }
}
For Hermes, add the server from the command line:
hermes mcp add mixpost --url "https://example.com/mixpost/mcp"
Hermes then prompts you in the terminal to paste an API key — enter your access token.
Alternatively, set the token manually as an Authorization header in ~/.hermes/config.yaml, then restart Hermes:
mcp_servers:
  mixpost:
    url: "https://example.com/mixpost/mcp"
    headers:
      Authorization: "Bearer <token>"
    enabled: true
If your client only supports local (stdio) servers, bridge to the remote endpoint with mcp-remote:
{
  "mcpServers": {
    "mixpost": {
      "command": "npx",
      "args": [
        "-y",
        "mcp-remote",
        "https://example.com/mixpost/mcp",
        "--header",
        "Authorization: Bearer ${MIXPOST_TOKEN}"
      ],
      "env": {
        "MIXPOST_TOKEN": "<token>"
      }
    }
  }
}
Verify the connection
Once your client is configured, confirm it works by asking your assistant to list your workspaces. If they come back, the endpoint and token are set up correctly and you can start working in any of them. If nothing happens, see Troubleshooting.
How it works
Everything in Mixpost is organised into workspaces, and almost every tool operates on a single workspace. Because of this, the workflow always starts the same way:
- Call
list-workspacesto get theuuidof each workspace the token can access. - Pass the chosen
uuidas theworkspaceargument to every other tool.
For publishing, you then resolve the accounts to post to:
- Call
list-accounts(with the workspaceuuid) to get the numeric account IDs. - Call
create-postwith the same workspaceuuidand those account IDs.
Your agent receives these instructions automatically when it connects, so in practice you can simply ask it in natural language — for example, "Draft a post for next Tuesday at 9am on my LinkedIn and X accounts" — and it will chain the right tools together.
See the full Tools reference for everything the server can do.
Roles and permissions
The token owner's role in a workspace determines which tools they can use:
| Role | Read (list / get) | Create, update, schedule, delete |
|---|---|---|
| Viewer | ✅ | ❌ |
| Member | ✅ | ✅ |
| Admin | ✅ | ✅ |
If a workspace requires post approval, posts scheduled or queued through the MCP server enter the needs approval state instead of being published immediately.
For security, a workspace the token cannot access is reported as "not found" — identical to a workspace that does not exist — so it is impossible to probe for other workspaces.
Timezones
All dates and times are stored in UTC. Most tools accept an optional timezone argument (an IANA identifier such as America/New_York or Europe/Chisinau) that controls how datetimes are interpreted in your input and formatted in the response. When omitted, it falls back to your account's configured timezone, then to UTC. Each response echoes the timezone it used.
Running into issues connecting or using the tools? See Troubleshooting.